In this article I am going to make a very useful and very easy home-automation system.
In this home-automation system we will control our home-appliances from the android app through Bluetooth and we can also control the appliances via manual switch buttons that we regularly do, Now You’re thinking we already make this project! yes you are right!
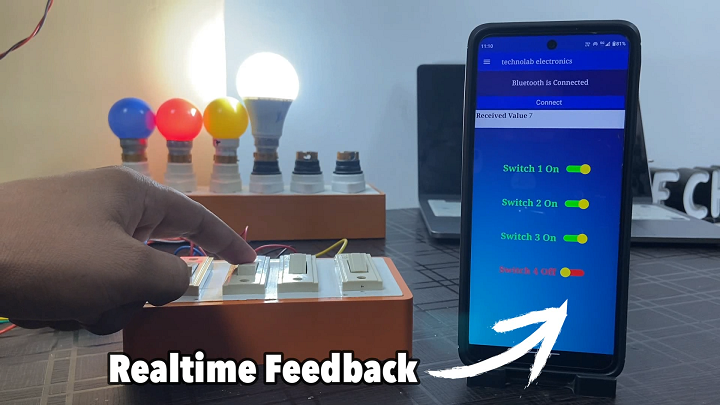
But in this home-automation project we have updated something, Now we can get the real time feedback in the app.
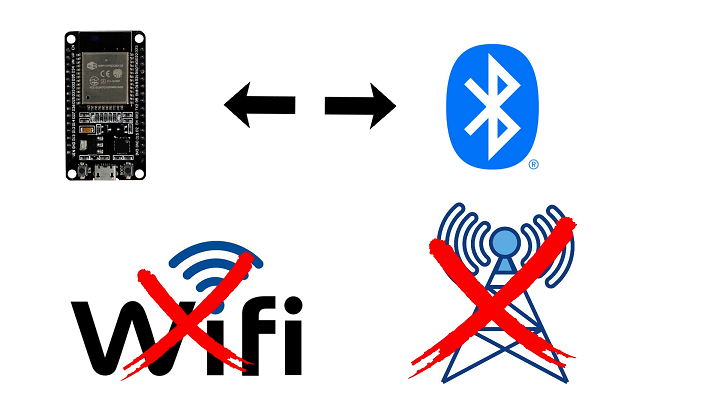
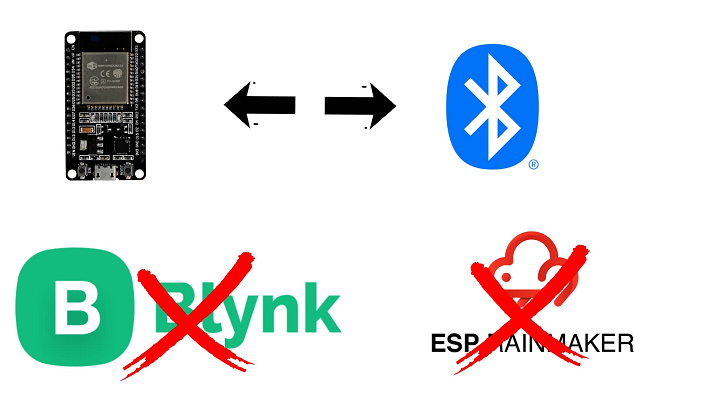
Here I am using the inbuilt Bluetooth connectivity of esp32. So internet, WIFI is not required in this home-automation system.
And also we don’t required any IOT or cloud platform.
Most of people don’t have internet or WIFI Connectivity, So this home-automation project is perfect for them.
The only downside of this project is , here we are using the Bluetooth, So in this project we can only control our appliances in local area networks…not globally. apart from this everything is great in this project.
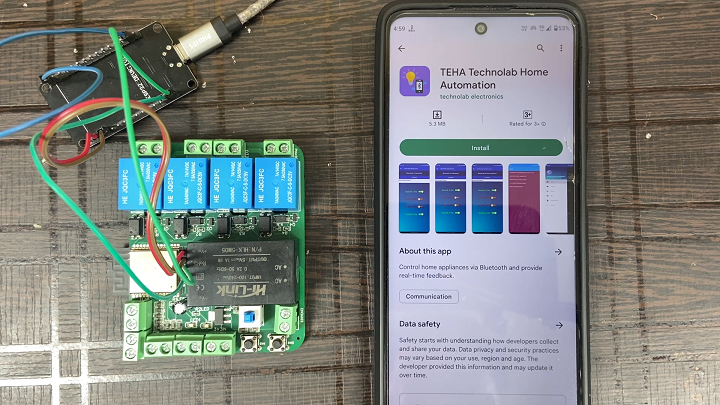
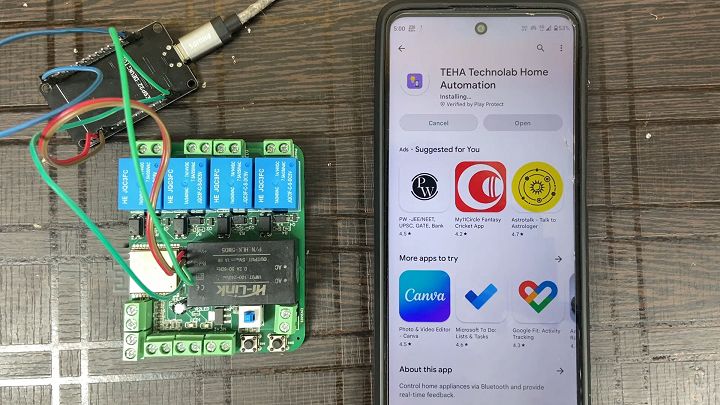
This app is absolutely free and you can download it from the play-store.
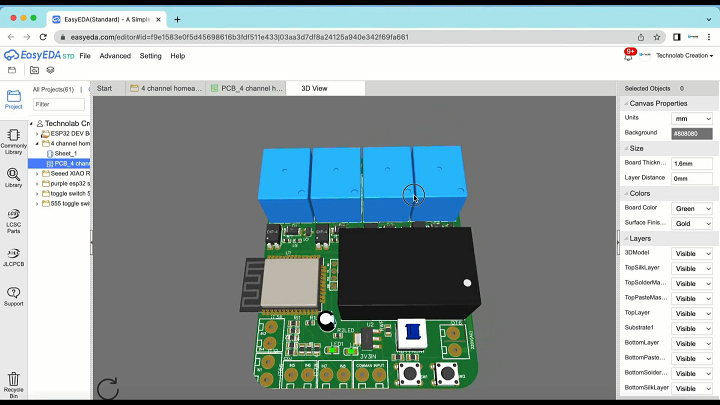
PCB Design.
This is the Schematic of PCBs. If you want Your own custom designed PCBs, Then you can download this schematic.
After making the Schematic, Convert it into PCB, Arrange and place all the components in desirable places, Once the layout is ready route the wiring and complete the design of PCB.
After The completion of PCB design, You need to download three files which will required during PCB order. These files are BOM, Gerber and CPL that is pick and place file.
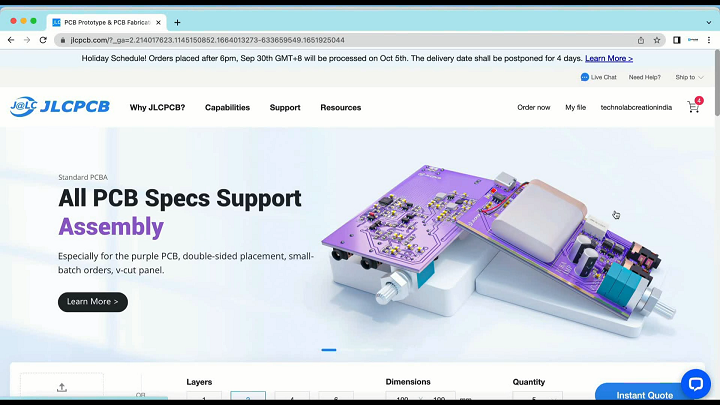
Ordering the PCBs at JLCPCB.
This project is sponsored by JLCPCB. JLCPCB is a full feature Printed Circuit Board manufacturing service.
Turn your DIY breadboard circuits into professional PCBs– get 10 boards for approximately $5 + shipping (which will vary depending on your country).
Once you have your Gerber files, you can order the PCB. Follow the next steps.
1. Download the Gerber files –click here to download the.zip file.
2. Go to JLCPCB website and Click on Quote Now button.
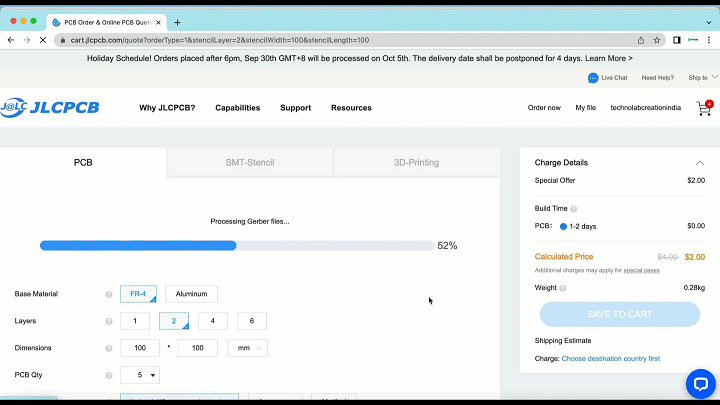
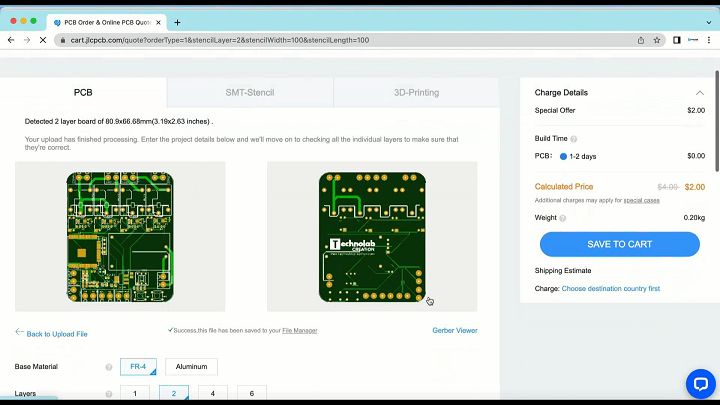
3.Upload the Gerber file you downloaded in the last step. Upload the.zip file or you can also drag and drop the Gerber files.
After uploading the zip file, you’ll see a success message at the bottom if the file is successfully uploaded. You can review the PCB in the Gerber viewer to make sure everything is good.
JLCPCB can grab all the PCB details and automatically fills them for you.
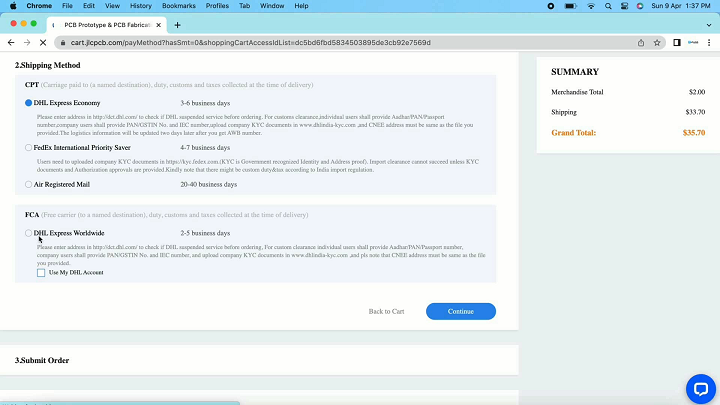
Select the PCB quantity and color masking of PCB by your self. I am selecting green color. After that Click on Save to cart to complete your order. And here if you select the fastest shipping option you may get the PCBs delivered at your desired location within a week.
After seven days, PCBs arrived at my place. As usual the quality of PCB is very premium, and the Components are soldered very well. Traces are perfect, silkscreen is fine, Green color PCB masking looks very beautiful and PCBs look pretty professional.
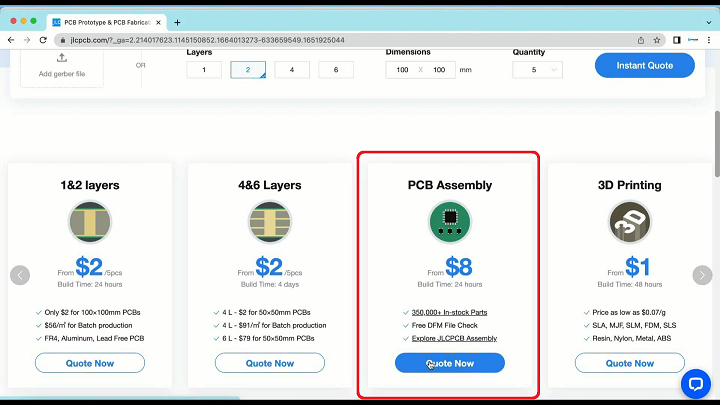
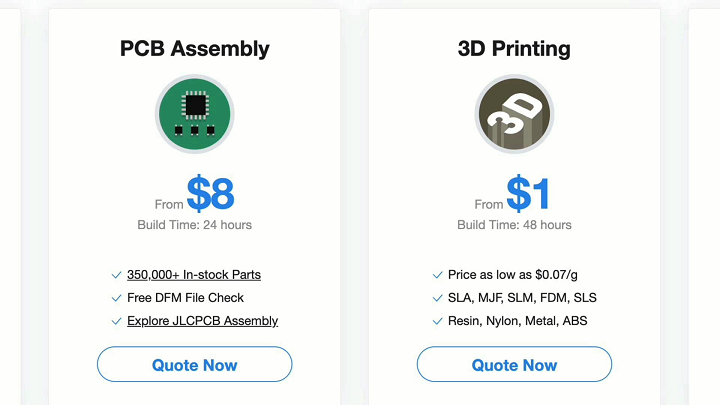
Do try Ordering the PCBs for your next projects from the JLCPCB & not only that, JLCPCB also provides the PCB Assembly services and the 3D Printing services.
Code.
To upload the code into ESP32 chip I will use esp32 development board , Connect the PCB to esp32 board as per this Circuit diagram.
Here in this section code if you want you can change the Bluetooth device name. This name will appear as the name of your Bluetooth device when we pair ESP32 with our Smartphone. After this no need to change anything, Now straight forward upload the code in your ESP32 board After selecting right board and right communication port.
After hitting the upload button now in the PCB, Press and hold the boot button and press the reset button once to make this module go inside the boot mode.
App Download & Pairing.
Go-to Play-store and download and install this App.
After installation, Open the app and give the required permission.
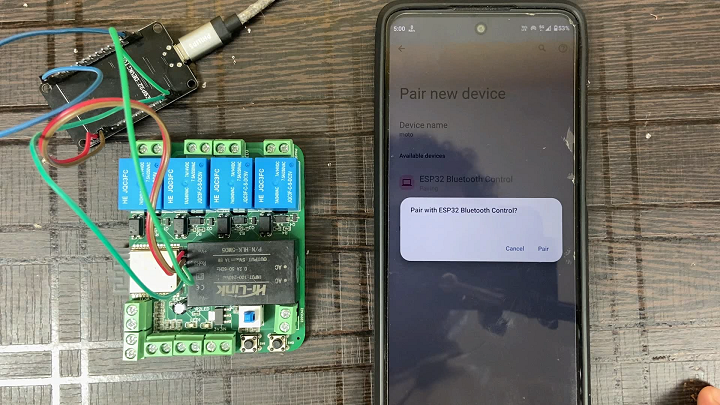
Now open Bluetooth settings of your phone, then click on pair new device…
A Bluetooth device having the same name that we mention in the code have must shown in the Bluetooth device list of your phone, tap on ESP32 Bluetooth Control device to pair with your phone.
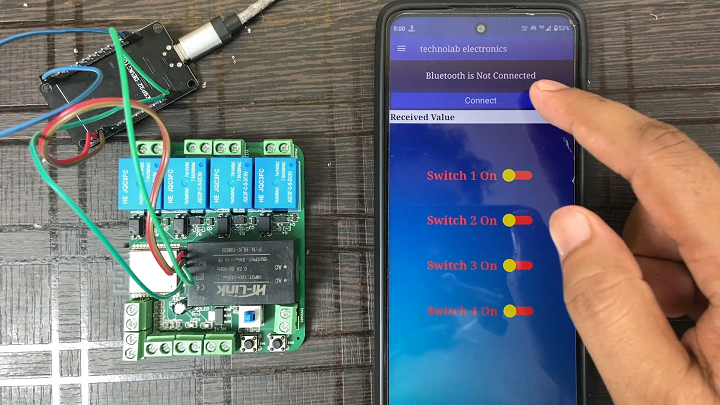
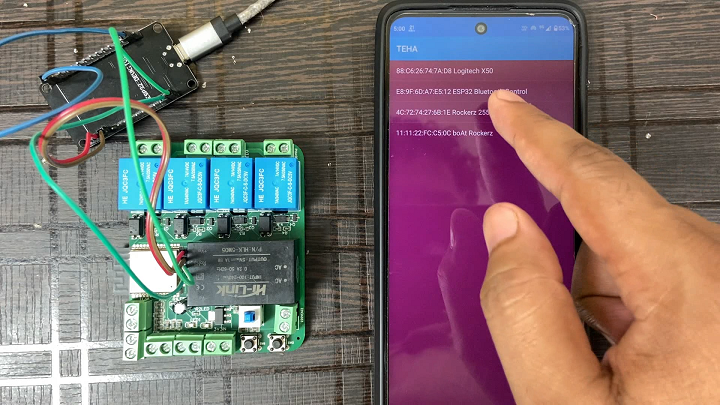
Once the esp32 is paired with the phone , Open the app again, Now in the app click on the connect and select your Bluetooth device.
You will see Bluetooth is connected message is shown in the app, this means now our esp32 is connected with the app.
Here we did all the configuration code uploading, app pairing now lets connect our devices and switches & finally will see how this project works.
Connection of bulb & Switches.
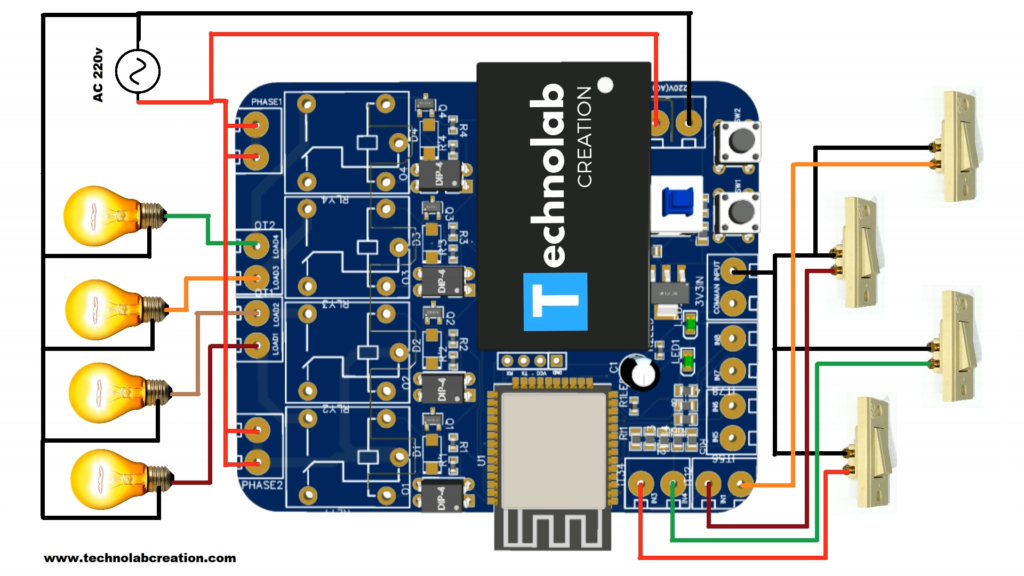
Now connect all the bulbs or any of your home appliances and switches as per this Circuit diagram.
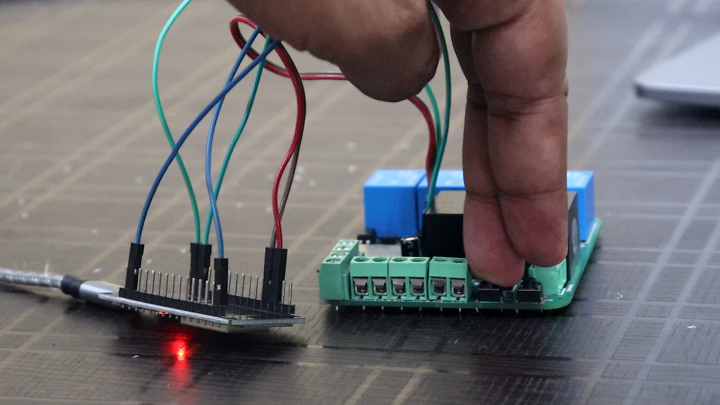
Here everything is done let’s see this project in action.
Now we able to control the bulbs through android app and manual switches and we are also getting the real-time feedback in the app, This home-automation project is very interesting and useful.


")

